#
StudioTorres Content Management System Guides and Documentation

Even though I will be doing the updates, you should have this documentation in case you ever want to add or change anything yourself. Perhaps you'll never use it, but at least it's here if you ever need it.
The content management system is where you go to add or edit text and media on the StudioTorres website. Currently, you can modify almost all text and most of the images on the site through the control panel.
Below, you'll find some guides for doing common operations on the website. We'll begin with the very basics of logging in, check out how to post an entry, work with some images, and then I'll show you how to turn an entry's video off.
#
Logging in
Visit https://studiotorres.com/admin and enter your login and password. Your login will always be your FULL studiotorres email address (e.g. 'magaeaglepatriot69@studiotorres.com').
If you do not know your password, you can reset it by following the "Forgot your password?" link on the login page, outlined in green.:

You must use your StudioTorres email address or the password reset will not work.
#
Editing an Existing Project
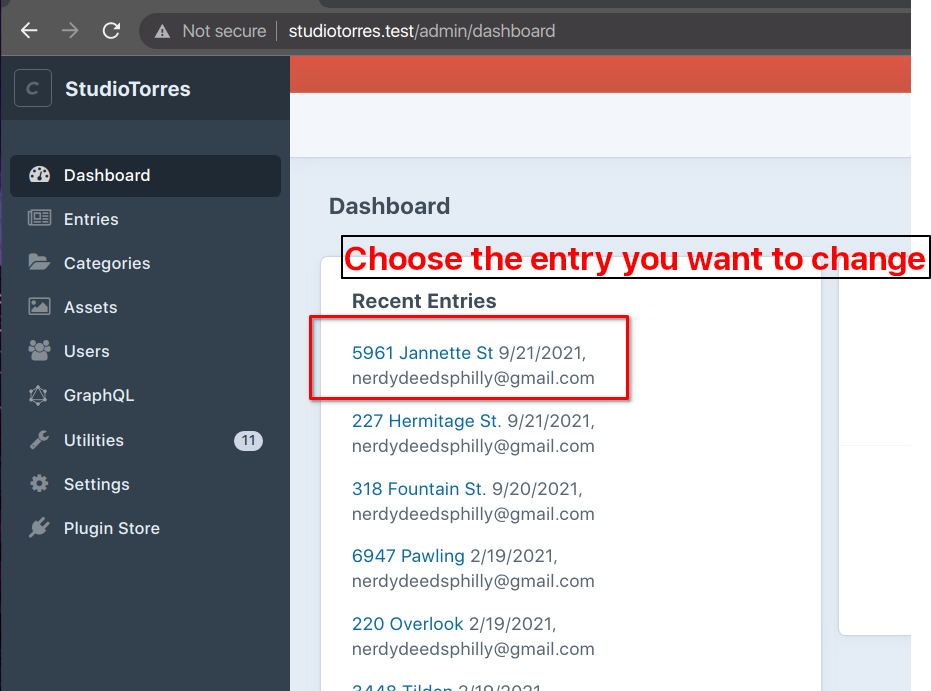
Upon successful login, you'll be redirected to a dashboard that shows recent entries. From here, select the entry that you want to edit:
Once you click through to the entry, you'll see the page that allows you to edit the project.
#
Changing Basic Metadata
On the right hand side of the page is a block of various attributes that includes author, post date, expiry date, and whether the entry is enabled or not.
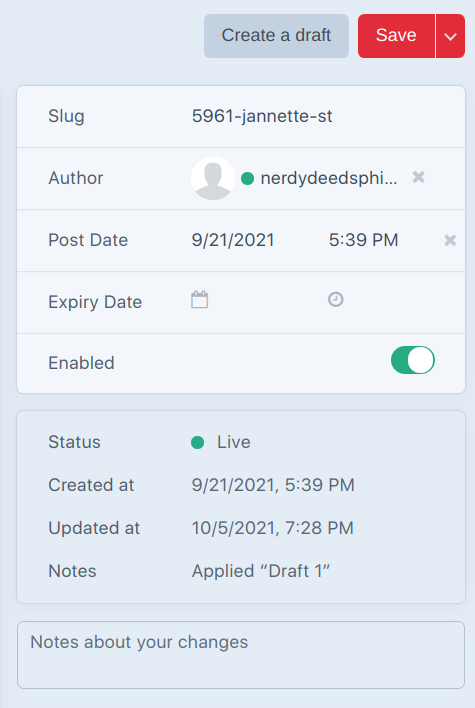
In case you're curious, "Slug" is how the entry is constructed in the URL for the page: https://studiotorres.com/portfolio/whatever-the-slug-is. You should not be able to change this, but if you can for some reason, don't! 😄
Expiry Date is potentially useful if you want to post something but then have it automatically removed at the date of your choosing.
To disable any entry immediately, set it to disabled and hit save.
You can set the post date to whenever you want, in the future or the past. (Setting it in the future does not take you to the future, sorry...it just waits until that date.)
The create a draft button will save your work but not publish it to the site until you tell it to. If you've been working on the page for more than a few minutes, it pays to create a draft so you won't lose your progress.
The notes about your changes box at the bottom is where you should leave notes about this page. The notes are not public -- they're meant for you and anyone else that's doing this editing. The notes box can be useful to remind yourself of something you want to add to the page, to let others know what you did or changed, etc.
Last but not least, we have the save button. Hitting Save will make your entry public on the live website if the enabled is switched on. (If it's off, it will still save, it just won't post anything publicly.) The little arrow to the right of save offers one additional option: save and continue. Hitting save itself will navigate away from the page, back to the dashboard, but save and continue will save and keep you right where you are. (And also publish your changes if the enabled is on!)
#
Rolling Back an Entry to a Previous State
If you have made changes to an entry and you're not pleased with them, you can usually roll the entry back to a previous saved state.
To do so, load the entry you want to modify. When you do, look to the right of the title:
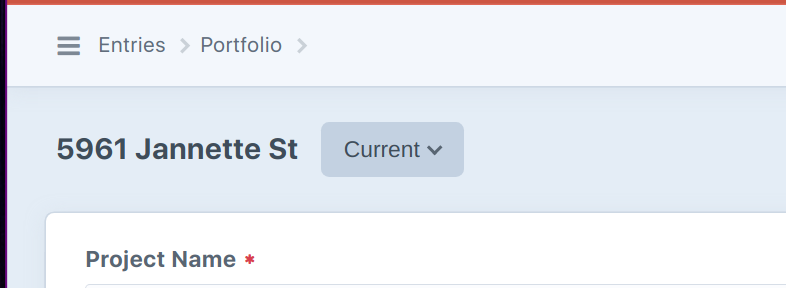
Click that "Current" dropdown and if there are any saved states you can roll back to, they will be shown here:
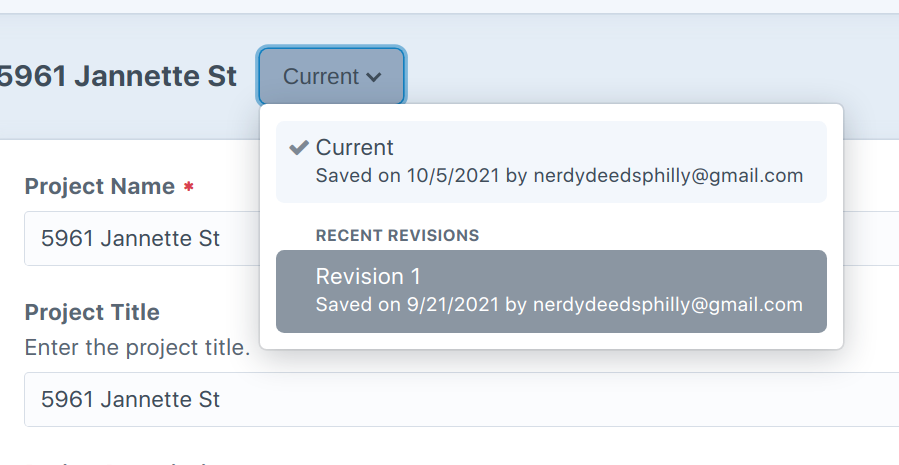
Select the saved state to return to, and the entry will be reverted.