#
Image Adjustments and Options

#
How the CMS Processes Images
The content management system takes every image that gets uploaded and:
- makes about a dozen copies of it to accommodate different screen sizes at different aspect ratios;
- finds a focal point for each size;
- applies a light enhancement to make the photos look a bit cleaner and fresher;
- compresses the file with minimal visual artifacts to reduce transfer time;
- extracts a color palette;
- crops, zooms, and applies other adjustments to (hopefully) get a result that works well on the page
It's a robust system -- it can take almost anything you can throw at it and turn around and deliver an optimized image in a few seconds. (Act impressed.)
If you wonder why it took me so goddamn long to develop this site I knew I wanted the above to happen but I had absolutely no idea how to make it happen when I started your site. Thanks for your patience -- I was able to lean that inside and out, and now I can set it up really fast.
#
Fixing Automatic Cropping Misfires
Usually, the CMS does a decent job, but given all of that processing, it does, sometimes, miss the mark. When it does, you can try this simple adjustment to see if it improves the cropping.
In the control panel, you'll see a section on the page called "Feature Image Cropping Overrides." It looks like this:
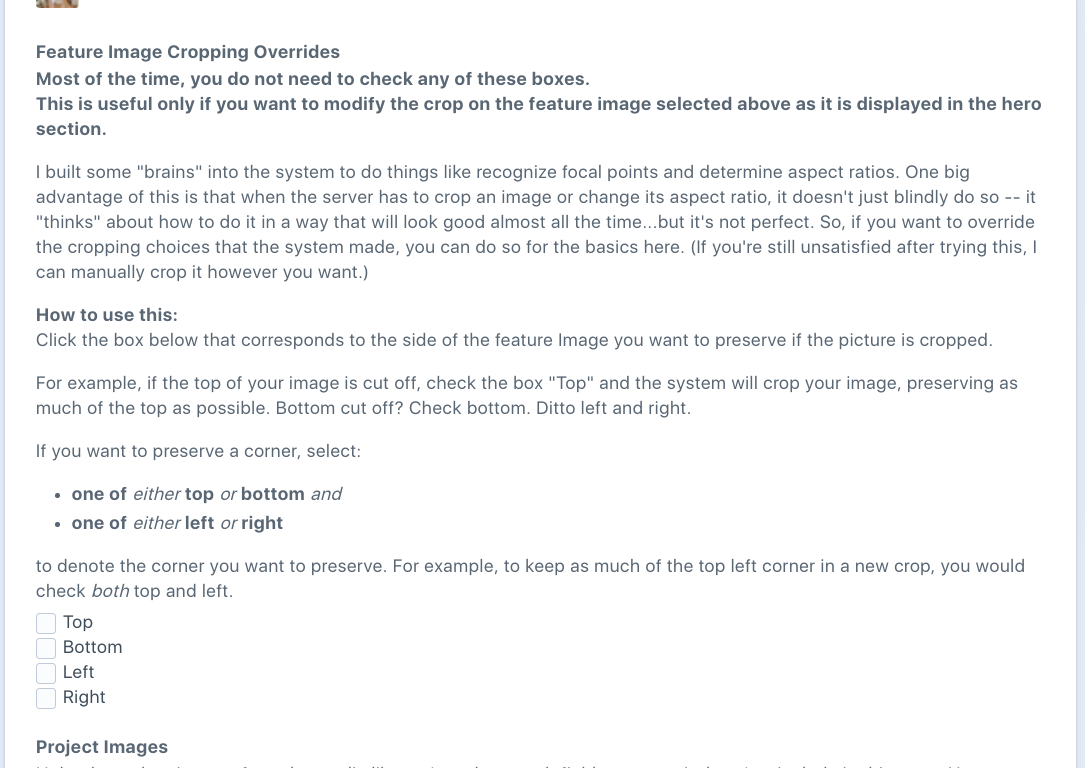
The directions on the page should be enough to get you where you need to go, but if not, just let me know.
You can also override the focal point manually. This is described in the next section.
#
Other Image Details
This section is mostly for your information. In day to day use, you will not need to use what I describe below. However, if you want to quickly edit an image or change the focal point, keep reading on!
If you look at the project images section of an entry and double-click any of the images, a modal panel will slide in from the right. It looks like this:
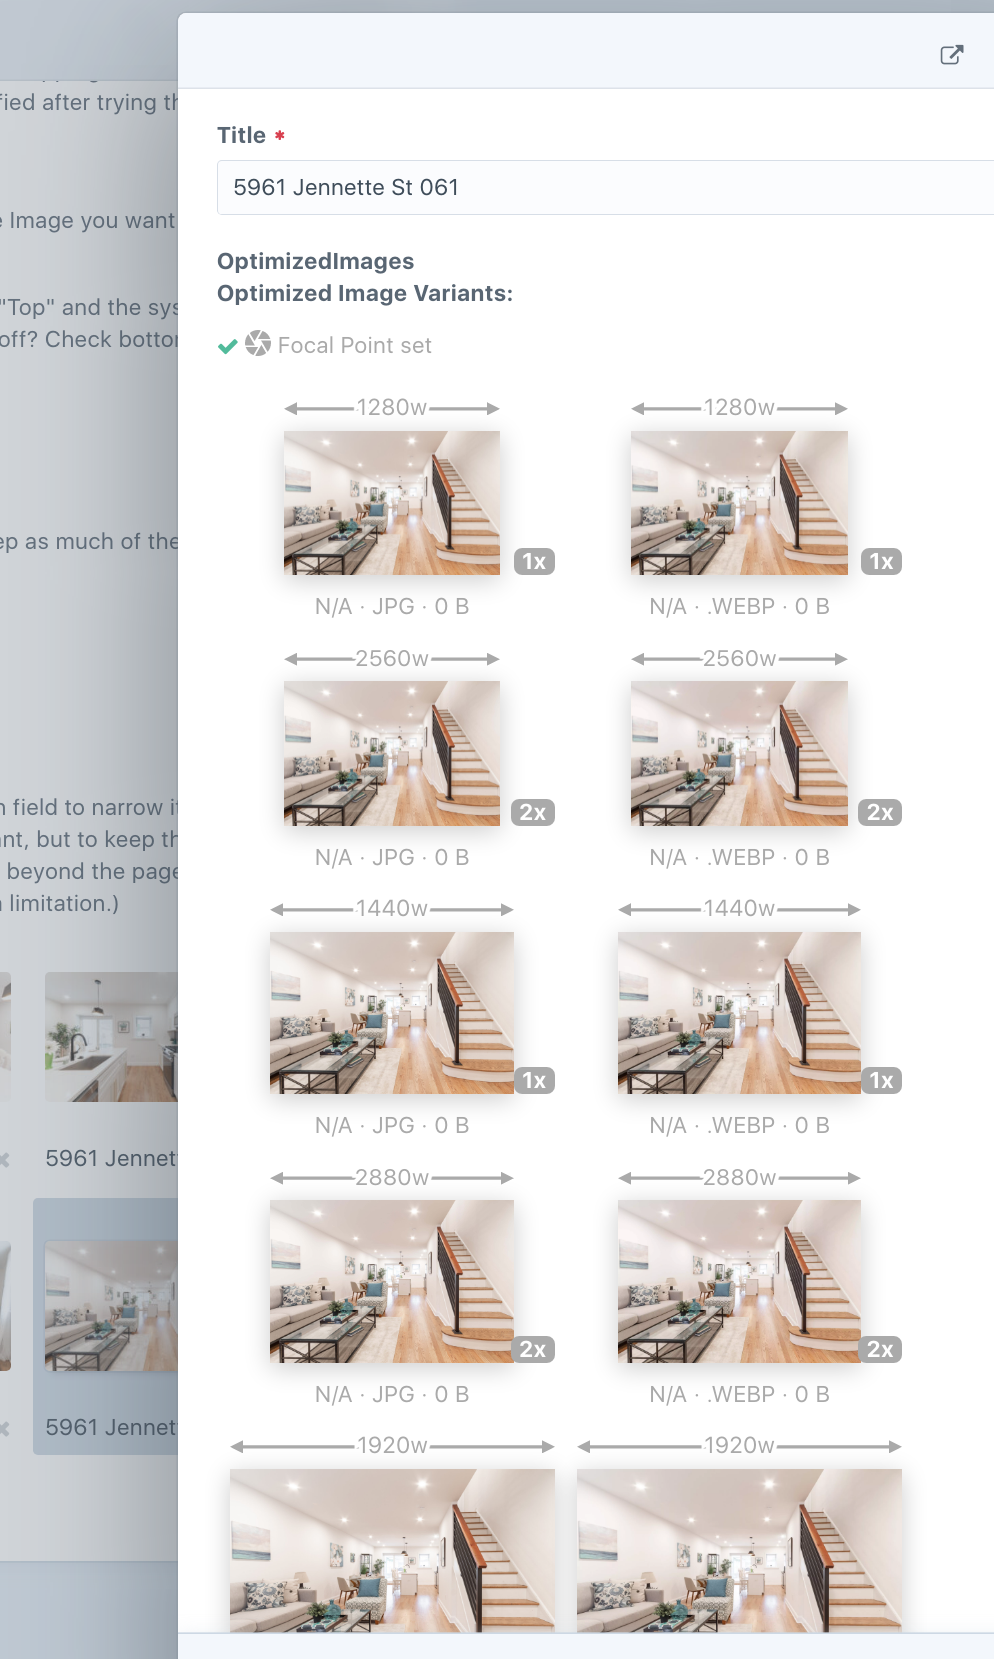
This shows you all of the image variations that the system has produced. The numbers above each photo are the width of screen that the image is intended for.
If you click any of those images, it will open the image in a new tab or window. The number over each photo (e.g. 1440w) is to denote the screen size the image is modified to fit. The higher numbers are for desktops, hi-res laptops, 2k, 4k, etc. The lower numbers and smaller pictures are for phones and smaller screens.
If you scroll down, you will see the dominant color palette extracted from the image, as well as two placeholder images. The placeholders are rarely used, but if someone is visiting from a very slow connection and the page cannot load all of the pictures right away, it will load the first few, and then use one of these placeholders while it fetches the actual picture so that the page isn't blank looking.
From this panel, you can also apply some basic edits to pictures. In the upper right hand corner, there are two buttons that look like this:
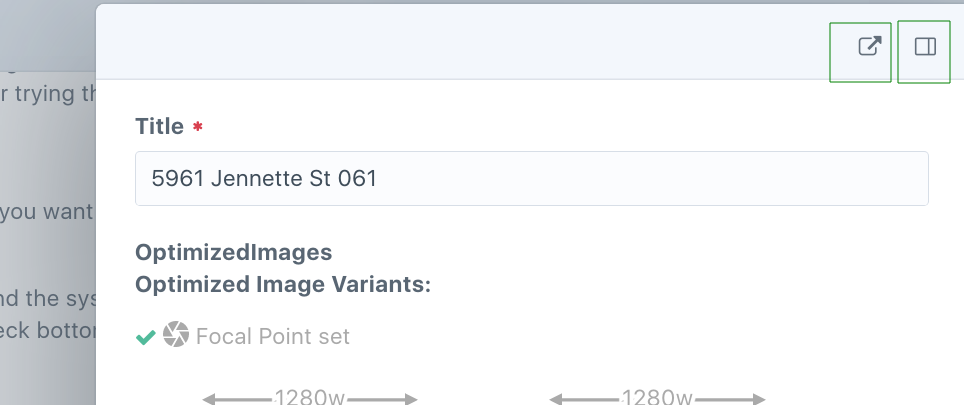
The one on the left pops the panel out and into a page:
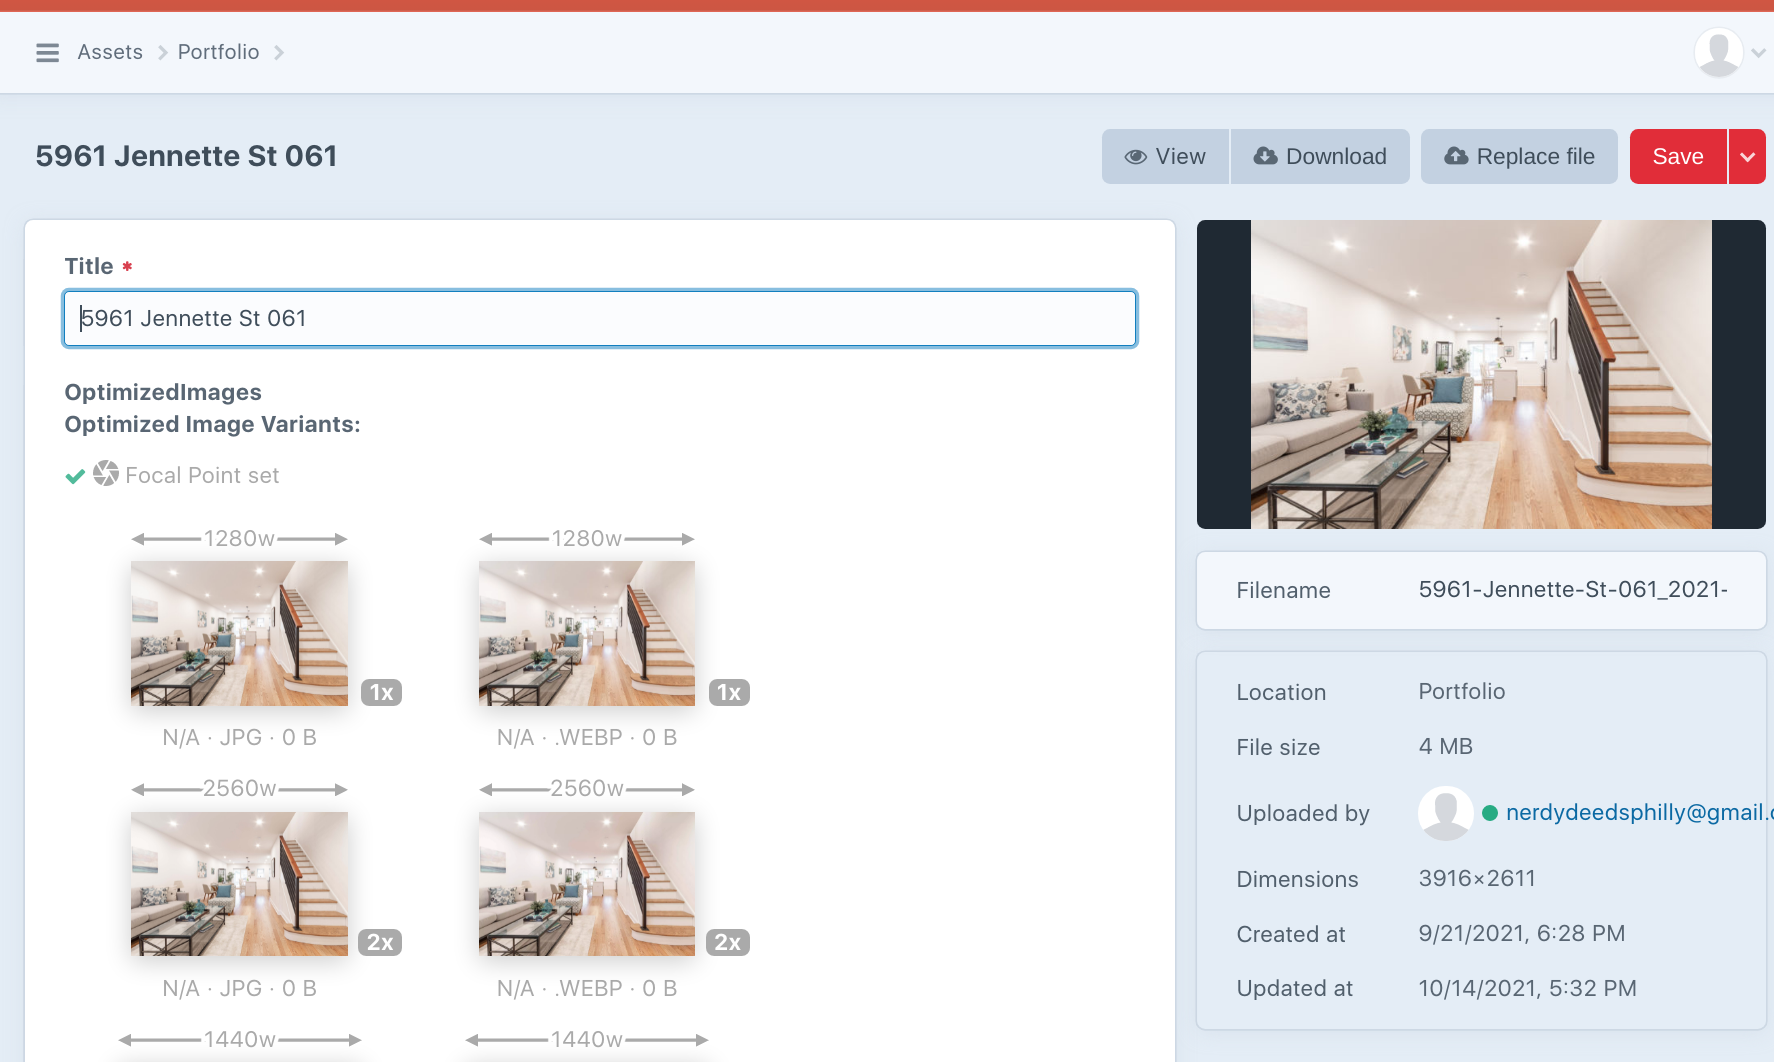
If you hover your mouse over the image on the top right, you will see two options appear: "Edit" and "Preview."
If you select edit, you will be taken to a screen where you can apply basic transformations on the image:
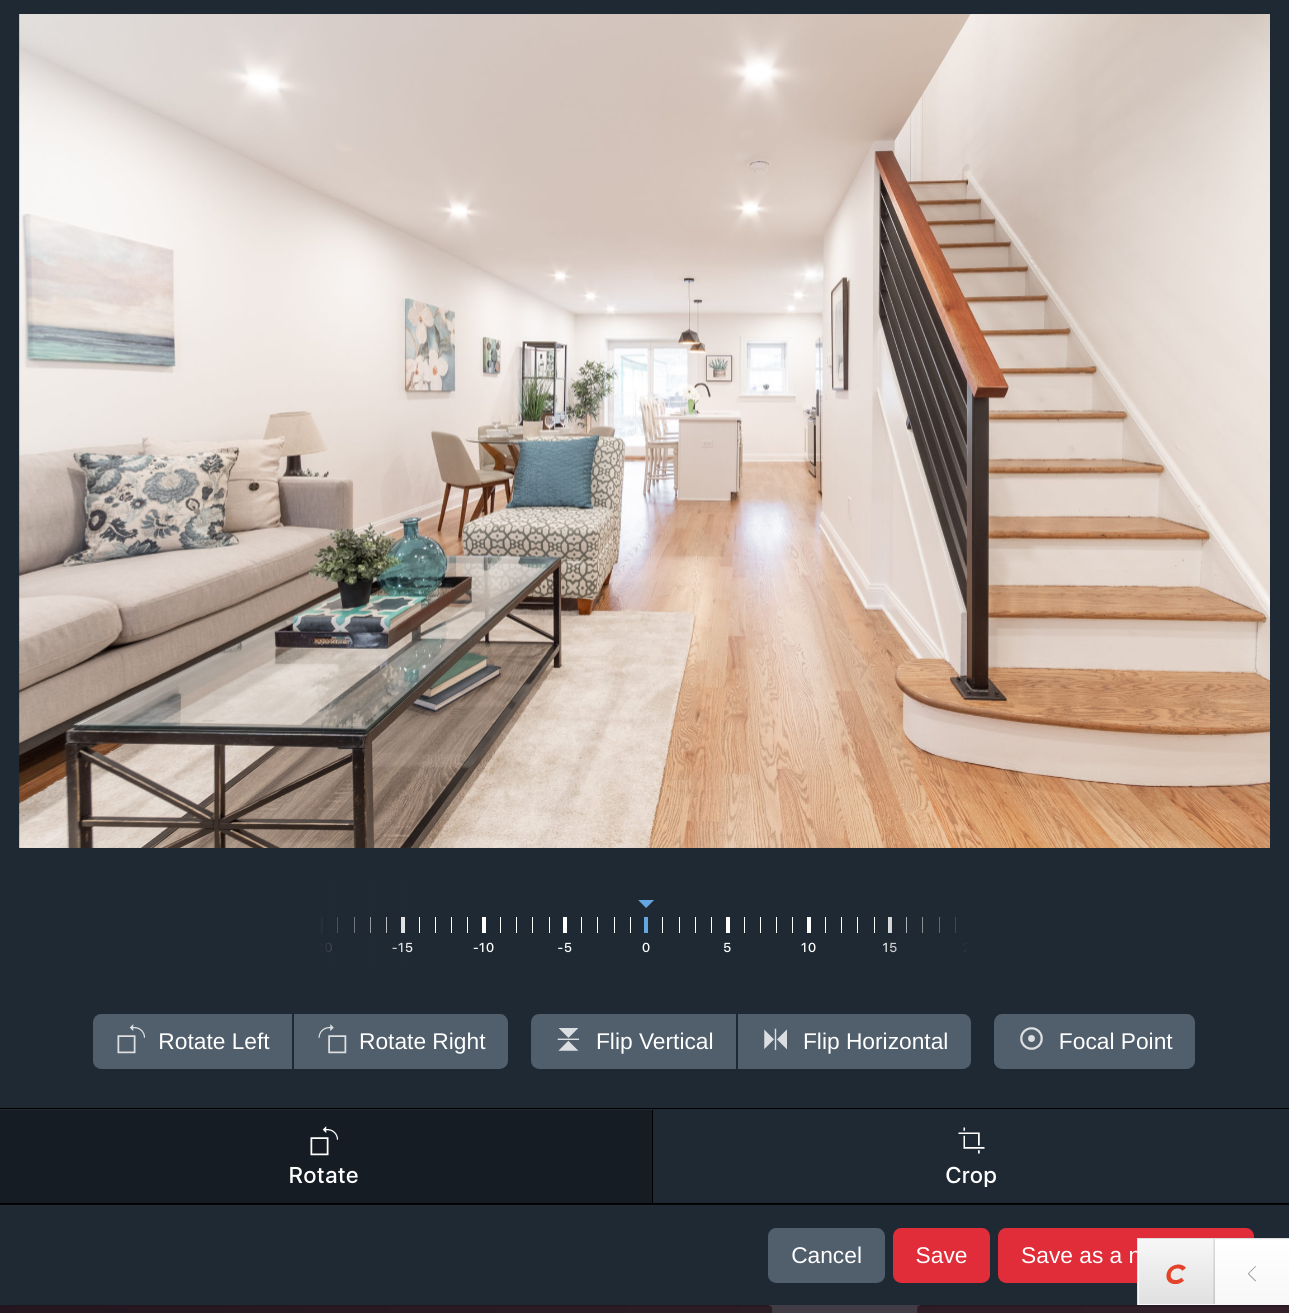
You can modify the image as you'd like. If you want to preserve the original as it is, use the "Save as a..." button.
Your modifications will be saved, and the system will automatically generate all of the different versions needed based on your edits. Depending on how busy the server is, this process can take anywhere from a few seconds to a few minutes.